Tuesday, December 21, 2010

Marble Swirl Nail Art

The marble swirl is an amazing pattern that can be mesmerise. In this nail art tutorial we’re going to create marble swirl design with few simple steps.

What you need:

  1. Red  Nail polish
  2. White Nail polish
  3. Tooth Pick or Pin
  4. Top Coat


Put a generous red nail polish drop on the top of the nail.

*As shown on picture


Then using the white nail polish put another generous drop on the middle of the nail.

*As shown on picture


Finally using the same red nail polish and put the last generous drop on the bottom of the nail.

*As shown on picture


While the polish still thick, use the toothpick or pin gently mix the red and the white to create an interesting swirls.


Using the toothpick or pin gently spread out the polish to the side and fill the gasps.

Apply top coat when dry.
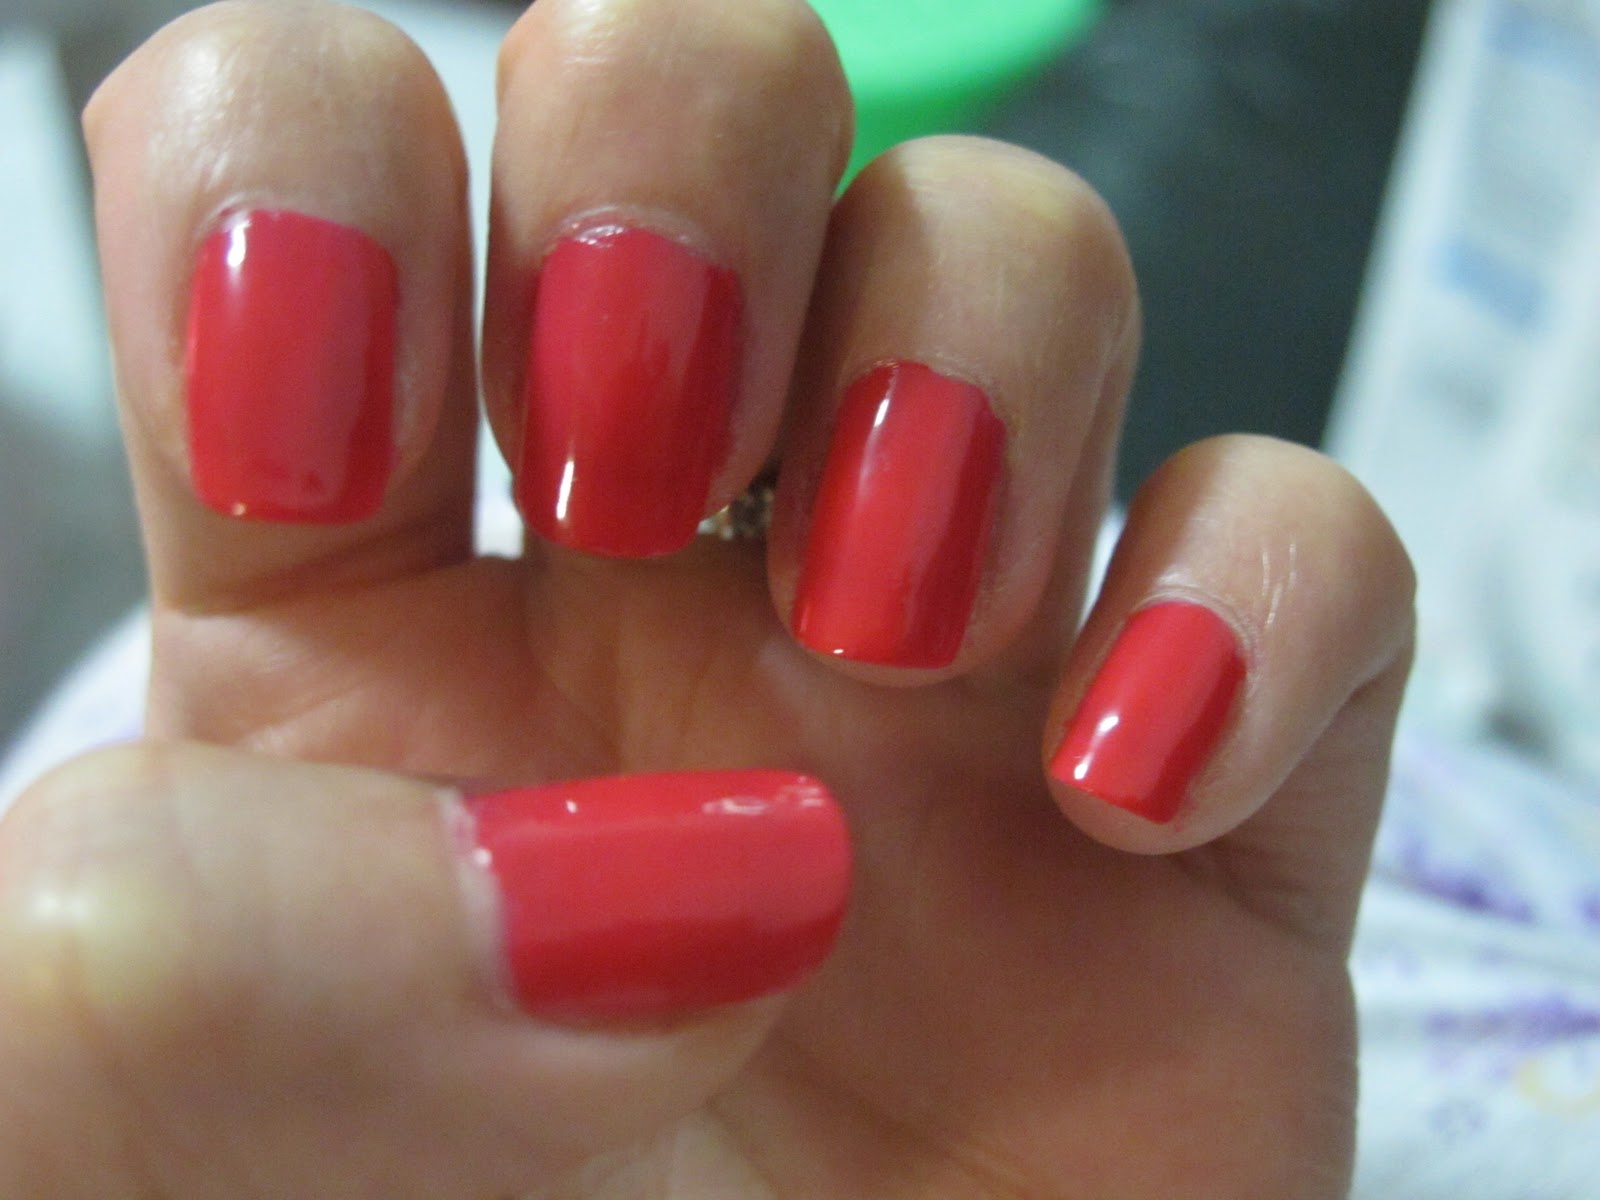


THE FINAL LOOK!

Tuesday, December 14, 2010

Christmas Inspiration Nails

Christmas is coming soon and I have been inspired by the spirit of giving. Even if you don’t celebrate Christmas this nail art design is elegant and gorgeous for any occasions.

What you need:

  1. Base colour nail polish – Red
  2. White colour nail polish with thin brush
  3. Sliver colour nail polish with thin brush
  4. Nail rhinestones – Small
  5. Top Coat


Start of with a base colour. It can be any sort of Christmas or non-Christmas colour.

Here I’ve decided to use red as my base colour.

Allow the nails to dry.


Then use the white thinner brush and create a vertical straight line in the middle.

*As shown on picture


With the same brush create a horizon line across to the middle.

Now you should have a perfect cross.


Again still with the white thinner brush create a half circle shape at the top middle of the cross.


Finish the other half circle shape at the other side.


Now add two smaller strokes from the bottom middle of the cross. 

*As shown on picture

This should create a nice small ribbon on the middle.


To make the ribbon more interesting, trace the ribbon using the sliver polish with the thinner brush. 


*Optional*

Add a small nail rhinestone in the middle for a special effect.


*Optional*

You can create the ribbon facing outer or inner side.

Or be a little creative and have both of each!


Apply top coat.


THE FINAL LOOK!

Monday, December 6, 2010

Stylish French Polish Nails

French Polish nails is classic and simple! So I've decided to add a little style in it.

What you need:

1. White nail polish
2. White colour nail polish with thin brush
3. Sliver colour nail polish with thin brush
4. Top coat


Use the white colour nail polish with thin brush and lightly stroke diagonally.

*As shown on the picture.


Repeat above steps.

*Recommend minimum three strokes.


From the top corner use the white colour nail polish with thin brush and lightly stroke diagonally.

*As shown on the picture.


Repeat above steps.

*Recommend minimum three strokes.


Use the white nail polish and cover the top half.

*Don’t worry if you can’t create a straight line.


*Tips*

Use the sliver colour nail polish with thin brush and cover the uneven straight line.

*As shown on the picture.


Still using the sliver colour nail polish with thin brush creates tiny dots on the centre of the cross.


Ready for the top coat!


The Final Look !