Thursday, April 12, 2012

Easy trick to perfect French Polish Manicure tips

French Manicure is the most classic and loved nail design but getting the perfect straight line can be very challenging. Here I will show you my top 3 easy tricks to perfect the curve lines.
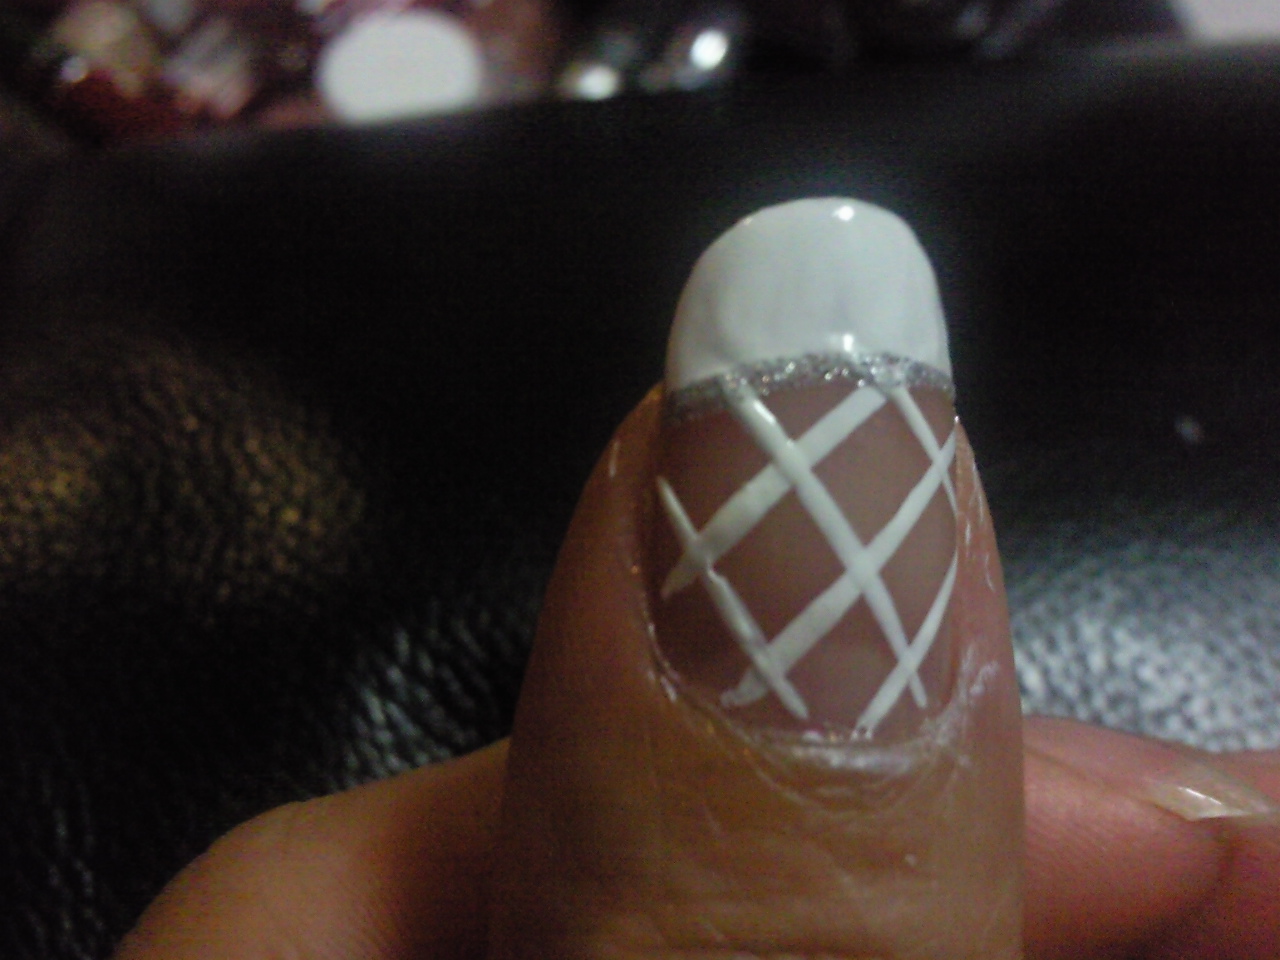
Trick 1

Using French Manicure Guide strips


Simply apply the nail guide strips across the nail. Press the nail guide firmly into place across the nail and into the side creases.

Now you’re ready to paint
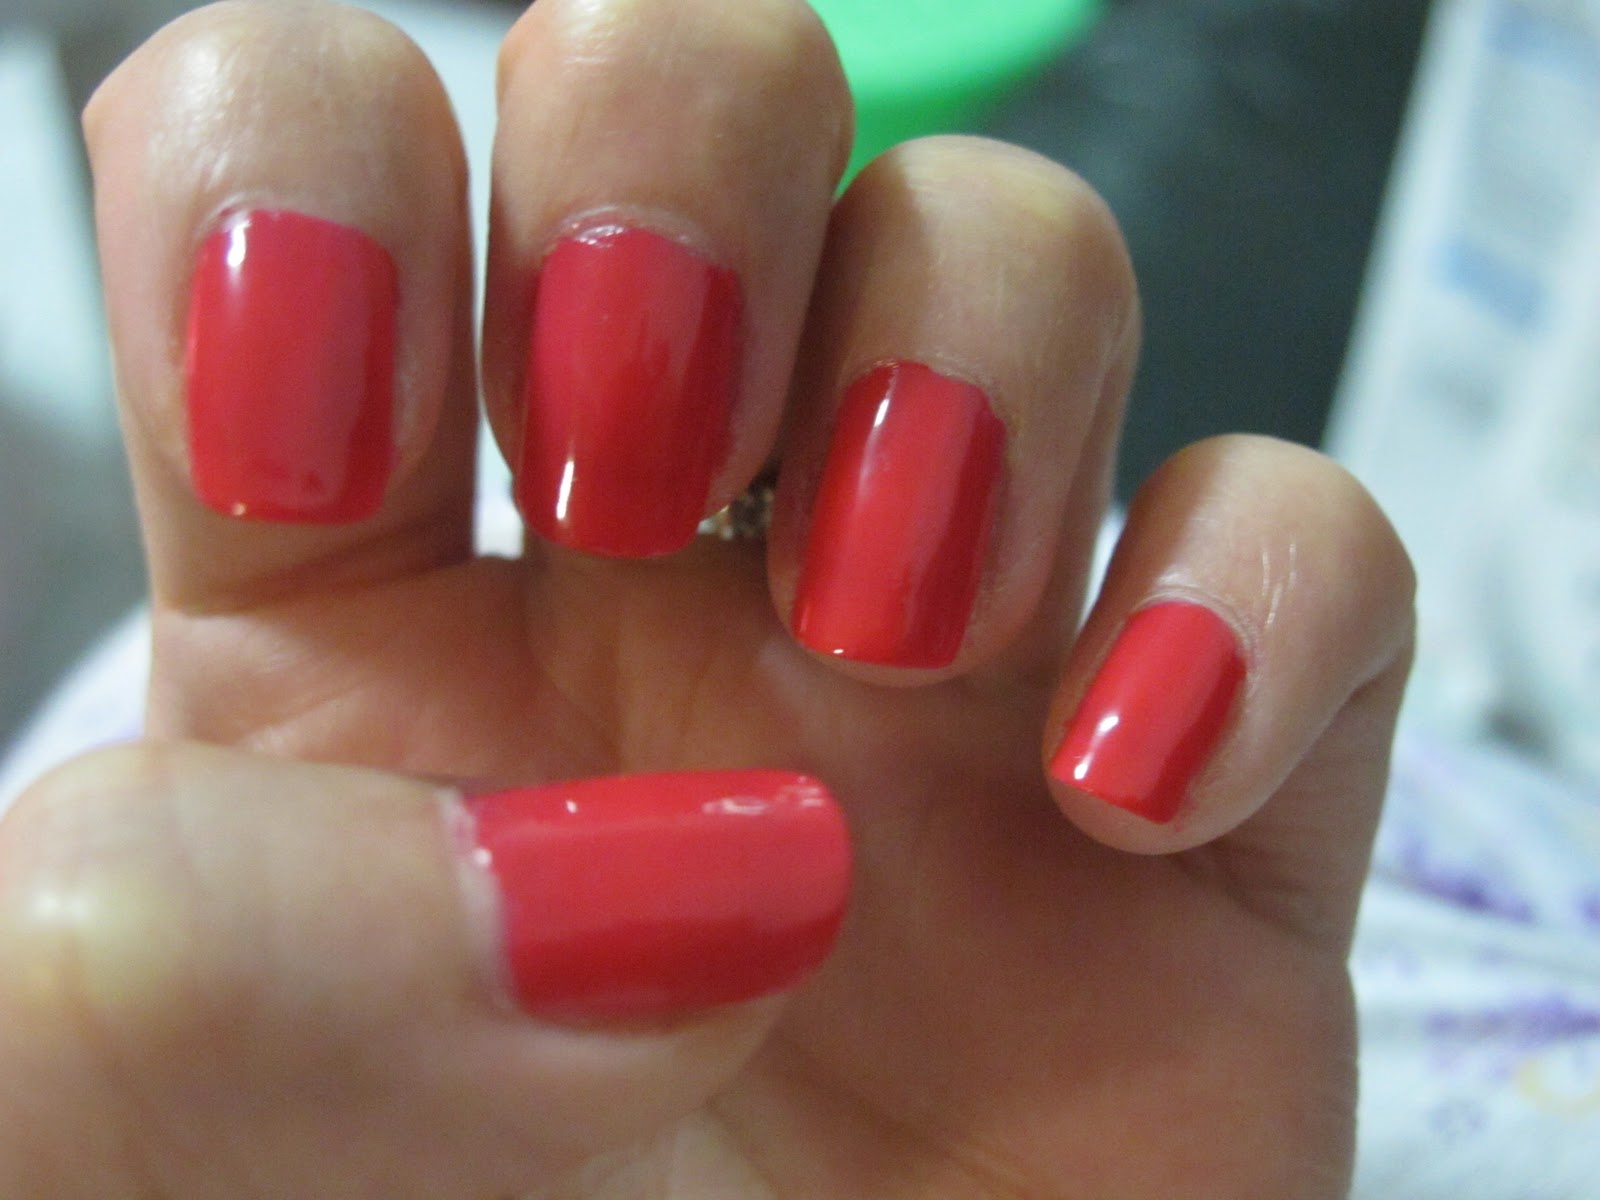


Trick 2

Use a nail brush


First paint the tip of the nail. It doesn’t have to be even. 

Then using a nail brush dip into a nail removal solution and gently cleans the uneven lines. This will create a perfect curve.
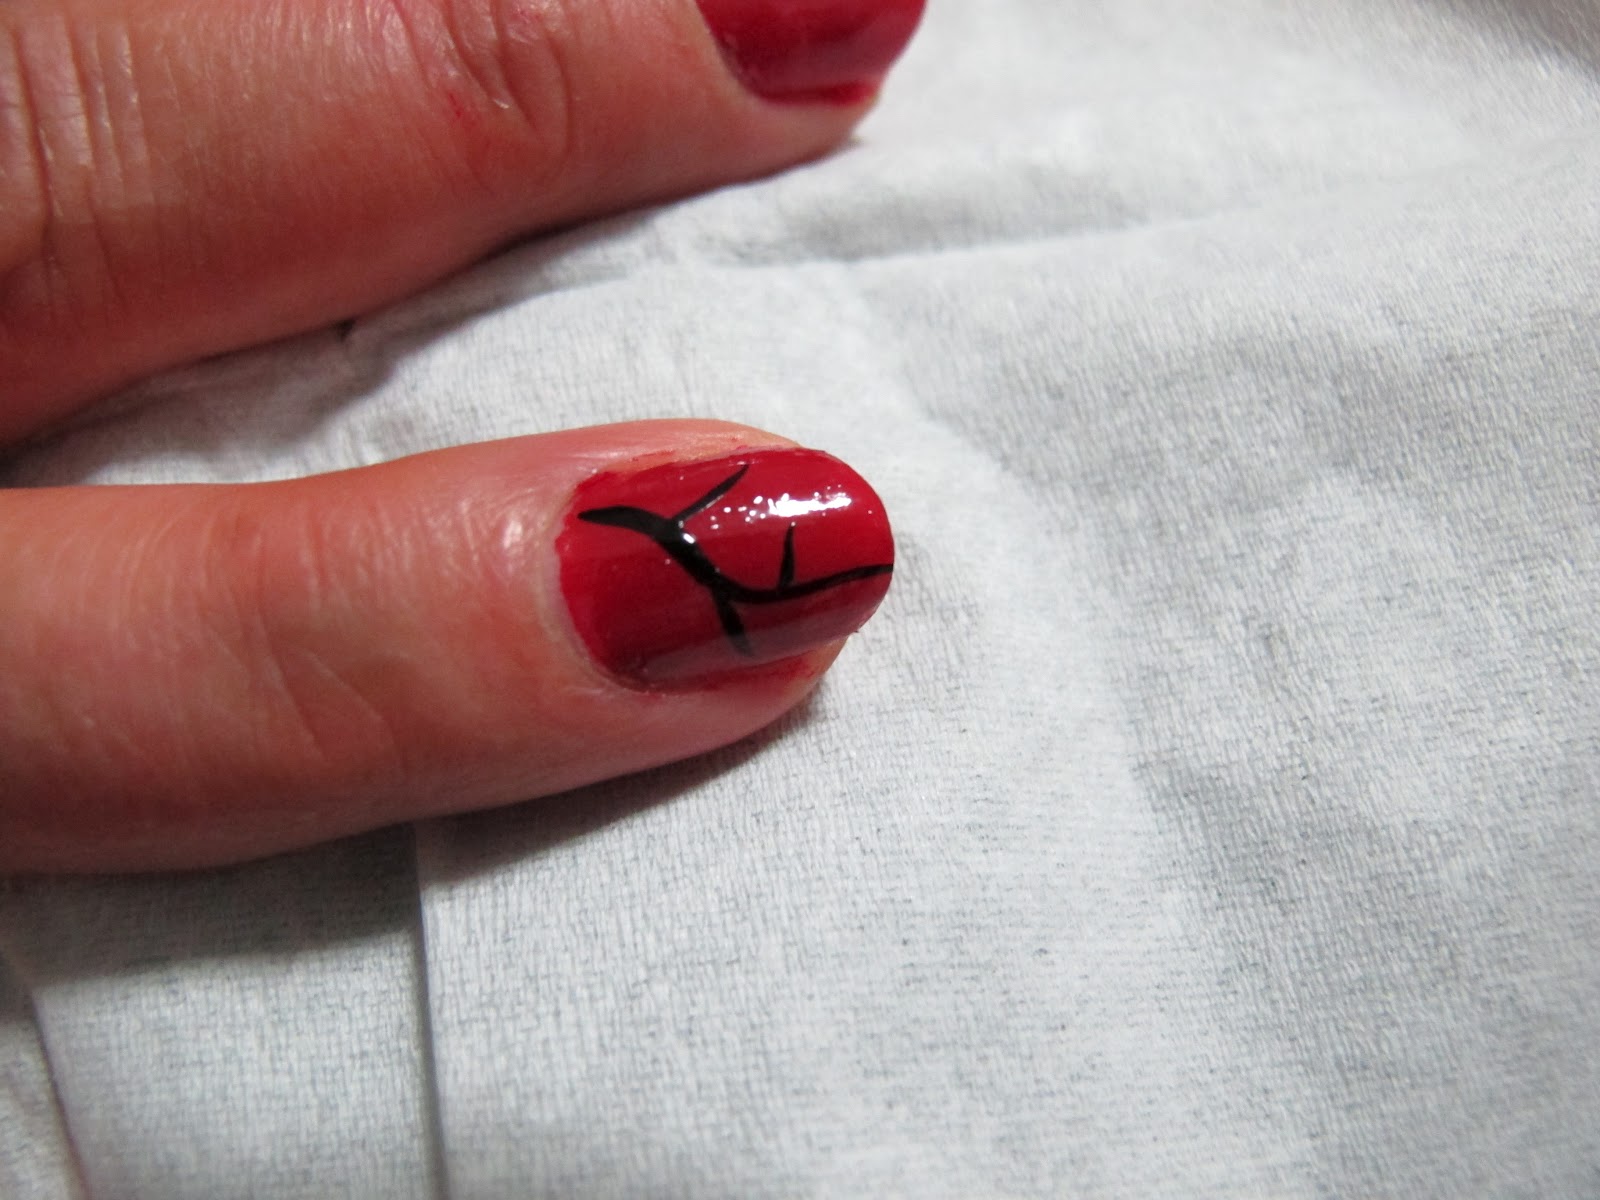


Trick 3

Hide the uneven lines


First paint the tip of the nail. It doesn’t have to be even. 

Then use the sliver colour nail polish with thin brush and cover the uneven straight line.

The Silver curve will hide the uneven lines and also creates an interest effect.


There are many more easy tricks to perfect the French Polish Manicure tips.

Why not discover yours!


Remember to apply the top coat!

Thursday, March 15, 2012

Cute Japanese Cherry Blossom

Cute Japanese Cherry Blossom
The cherry blossom is the symbol of Japan, as well as being the symbol of spring. Each year many tourists will visit Japan to witness the beautiful Cherry Blossom festival. In this nail art tutorial you’ll witness every step of the glowing moment of a Cherry blossom!

What you need:
1. Base colour nail polish – Red colour (Optional)
2. Black & White colour nail polish with thin brush
3. Top coat


Start off with a base colour, here I use red.

Use the Black colour nail polish with thin brush and create a thick wave diagonally across the nail. Then from the side add a couple of small strokes.

*As shown on the picture*


Now using a white colour nail polish with thin brush carefully dot around the smaller thin black stroke.
*As shown on the picture*


Continue the above steps till the five dots create a flower pattern shape.

*Second dot*


*Third dot and so on*

*Optional*
You can also complete 3 dots flower.


The final five dot flower should look like this.


Complete the rest of the flowers on the other smaller black thin strokes.


*Notice the 3 dot flowers*

Now you're ready to apply the top coat.


The Final Look!

Monday, August 8, 2011

Cute beetles

Cute beetles
This nail art design was inspired by our different shapes of nails, the cute beetles nail art can bring out individual characters of our fingers. Just take a moment and see how each finger nails can transform to little individual beetles characters.
What you need:
1. Base colour nail polish – Five different colour (Optional)
2. Black & Sliver colour nail polish with thin brush
3. Top coat


1) Use the Black colour nail polish with thin brush and draw a curve from one side to the other.


*As shown on the picture*


2) Then use the base colour nail polish (Any colour out of the five or stick with one colour)
Here I’ve used baby pink and apply above the black curve.


3) With the Black colour nail polish with thin brush apply two dots inside the black curve.
You’ve now created two eyes.


4) Pick a different nail polish colour and apply random dots on the base coat.

Here I’ve used purple.


*Optional* - using the Black colour nail polish with thin brush carefully add the bow above the black curve.
You can be creative and replace it with something else instead of a bow.


*Optional* using the Sliver colour nail polish with thin brush carefully fill in the black bow.
This will create more stands out effects.


Now you're ready to apply the top coat.


The Final Look!


Monday, January 10, 2011

Simple Polka Dots Nail Art Design

Simple Polka Dots Nail Art Design

This simple yet detail nail art complements any outfit for a special event or add a unique flair to your appearance every day. While very detailed nail art is best left to professionals, there are a number of techniques that you can do in your own home and this design is one of it.

What you need:

  1. Black Nail polish
  2. Pink/Peach Nail polish
  3. Sliver colour nail polish with thin brush
  4. Tooth Pick or Dotting tool
  5. Top Coat


Start of with a base colour. It can be any sort of colour.

Here I’ve used black as my base colour.

Allow the nails to dry.


Then use the Pink/Peach Nail polish and apply to the top nail.

* Like French polish design*


*Tips*

Use the sliver colour nail polish with thin brush and cover the uneven straight line.

*As shown on the picture*


Using a Tooth Pick or dotting tool take a generous Pink/Peach nail polish.

Then carefully dot on the black base colour on the nail.

Continue the above steps till the black nails have cover with Pink/Peach polka dots.

*As shown on the picture*


Now clean the dotting tool or use a new tooth pick and take a generous black nail polish.

Then carefully dot on the Pink/Peach colour on the top nail.

Continue the above steps till the Pink/Peach nails have cover with black polka dots.

*As shown on the picture*


Now you're ready to apply the top coat.


The Final Look!

Tuesday, December 21, 2010

Marble Swirl Nail Art

The marble swirl is an amazing pattern that can be mesmerise. In this nail art tutorial we’re going to create marble swirl design with few simple steps.

What you need:

  1. Red  Nail polish
  2. White Nail polish
  3. Tooth Pick or Pin
  4. Top Coat


Put a generous red nail polish drop on the top of the nail.

*As shown on picture


Then using the white nail polish put another generous drop on the middle of the nail.

*As shown on picture


Finally using the same red nail polish and put the last generous drop on the bottom of the nail.

*As shown on picture


While the polish still thick, use the toothpick or pin gently mix the red and the white to create an interesting swirls.


Using the toothpick or pin gently spread out the polish to the side and fill the gasps.

Apply top coat when dry.


THE FINAL LOOK!

Tuesday, December 14, 2010

Christmas Inspiration Nails

Christmas is coming soon and I have been inspired by the spirit of giving. Even if you don’t celebrate Christmas this nail art design is elegant and gorgeous for any occasions.

What you need:

  1. Base colour nail polish – Red
  2. White colour nail polish with thin brush
  3. Sliver colour nail polish with thin brush
  4. Nail rhinestones – Small
  5. Top Coat


Start of with a base colour. It can be any sort of Christmas or non-Christmas colour.

Here I’ve decided to use red as my base colour.

Allow the nails to dry.


Then use the white thinner brush and create a vertical straight line in the middle.

*As shown on picture


With the same brush create a horizon line across to the middle.

Now you should have a perfect cross.


Again still with the white thinner brush create a half circle shape at the top middle of the cross.


Finish the other half circle shape at the other side.


Now add two smaller strokes from the bottom middle of the cross. 

*As shown on picture

This should create a nice small ribbon on the middle.


To make the ribbon more interesting, trace the ribbon using the sliver polish with the thinner brush. 


*Optional*

Add a small nail rhinestone in the middle for a special effect.


*Optional*

You can create the ribbon facing outer or inner side.

Or be a little creative and have both of each!


Apply top coat.


THE FINAL LOOK!

Monday, December 6, 2010

Stylish French Polish Nails

French Polish nails is classic and simple! So I've decided to add a little style in it.

What you need:

1. White nail polish
2. White colour nail polish with thin brush
3. Sliver colour nail polish with thin brush
4. Top coat


Use the white colour nail polish with thin brush and lightly stroke diagonally.

*As shown on the picture.


Repeat above steps.

*Recommend minimum three strokes.


From the top corner use the white colour nail polish with thin brush and lightly stroke diagonally.

*As shown on the picture.


Repeat above steps.

*Recommend minimum three strokes.


Use the white nail polish and cover the top half.

*Don’t worry if you can’t create a straight line.


*Tips*

Use the sliver colour nail polish with thin brush and cover the uneven straight line.

*As shown on the picture.


Still using the sliver colour nail polish with thin brush creates tiny dots on the centre of the cross.


Ready for the top coat!


The Final Look !